Migrating from Vercel to Netlify - example using Next.js
TLDR
- Sign up to Netlify
- Link your git repo
- Copy env vars across
- Test on a preview domain
- Transfer your production domain
For more details and gotchas, carry on reading.
Introduction
Before we start it's important to understand a few concepts.
Vercel and Netlify are simply ways of deploying code from a git repo to servers (such as a production web server).
The guide uses Next.js which has a few more gotchas due to it's tight integration with Vercel. If you've got another project on Vercel, you should be able to follow along and simply skip the Next.js parts when doing your migration. Having said that, the process with Next.js should still be relatively straightforward as Netlify provides zero-configuration deployment for Next.js 13.5+ with full support for App Router, SSR, ISR, and all modern Next.js features. Earlier versions use the legacy runtime.
You'll be setting up a Preview environment anyway so you can do some thorough testing on Netlify before cutting over.
If you want Priority email support immediately upgrade to Pro. That way you'll get tech support during the cutover process.
0. Pre-migration checklist
-
Check your version of Next.js
-
see
package.json(e.g."next": "15.3.3") and make sure it's13.5+
-
see
-
Check build commands and settings
-
e.g. see
vercel.json(if it does not exist, you're not using any Vercel-specific features)
-
e.g. see
-
Review your Vercel dashboard settings
- Settings > Build and Deployment
-
Plan the time you'll need
- The entire process only takes a few hours but, to factor in DNS delays, testing and questions to Netlify support if required, I'd plan for a few days (small to medium) to a couple of weeks (enterprise) depending on the scale of your project whilst you wait for things to happen.
1. Preparation
- Plan the migration at the start of a sprint for larger projects
- Inform your team about the upcoming changes
- Ensure your project is in a git repository
- Commit all pending changes
- Verify Next.js features in use
- Set up comprehensive testing
- Read the DNS migration guidance document from Netlify (answers.netlify.com/t/support-guide-minimal-downtime-for-a-live-site-dns-migration/141)
2. Sign Up and Create a New Site on Netlify
- Go to app.netlify.com and create an account
- Click Add new project > Import an existing project
- Connect your Git provider and select the repository/branch
- Configure build settings (Netlify usually auto-detects these for Next.js projects)
- Deploy the site - Netlify will provide a `*.netlify.app` subdomain for preview
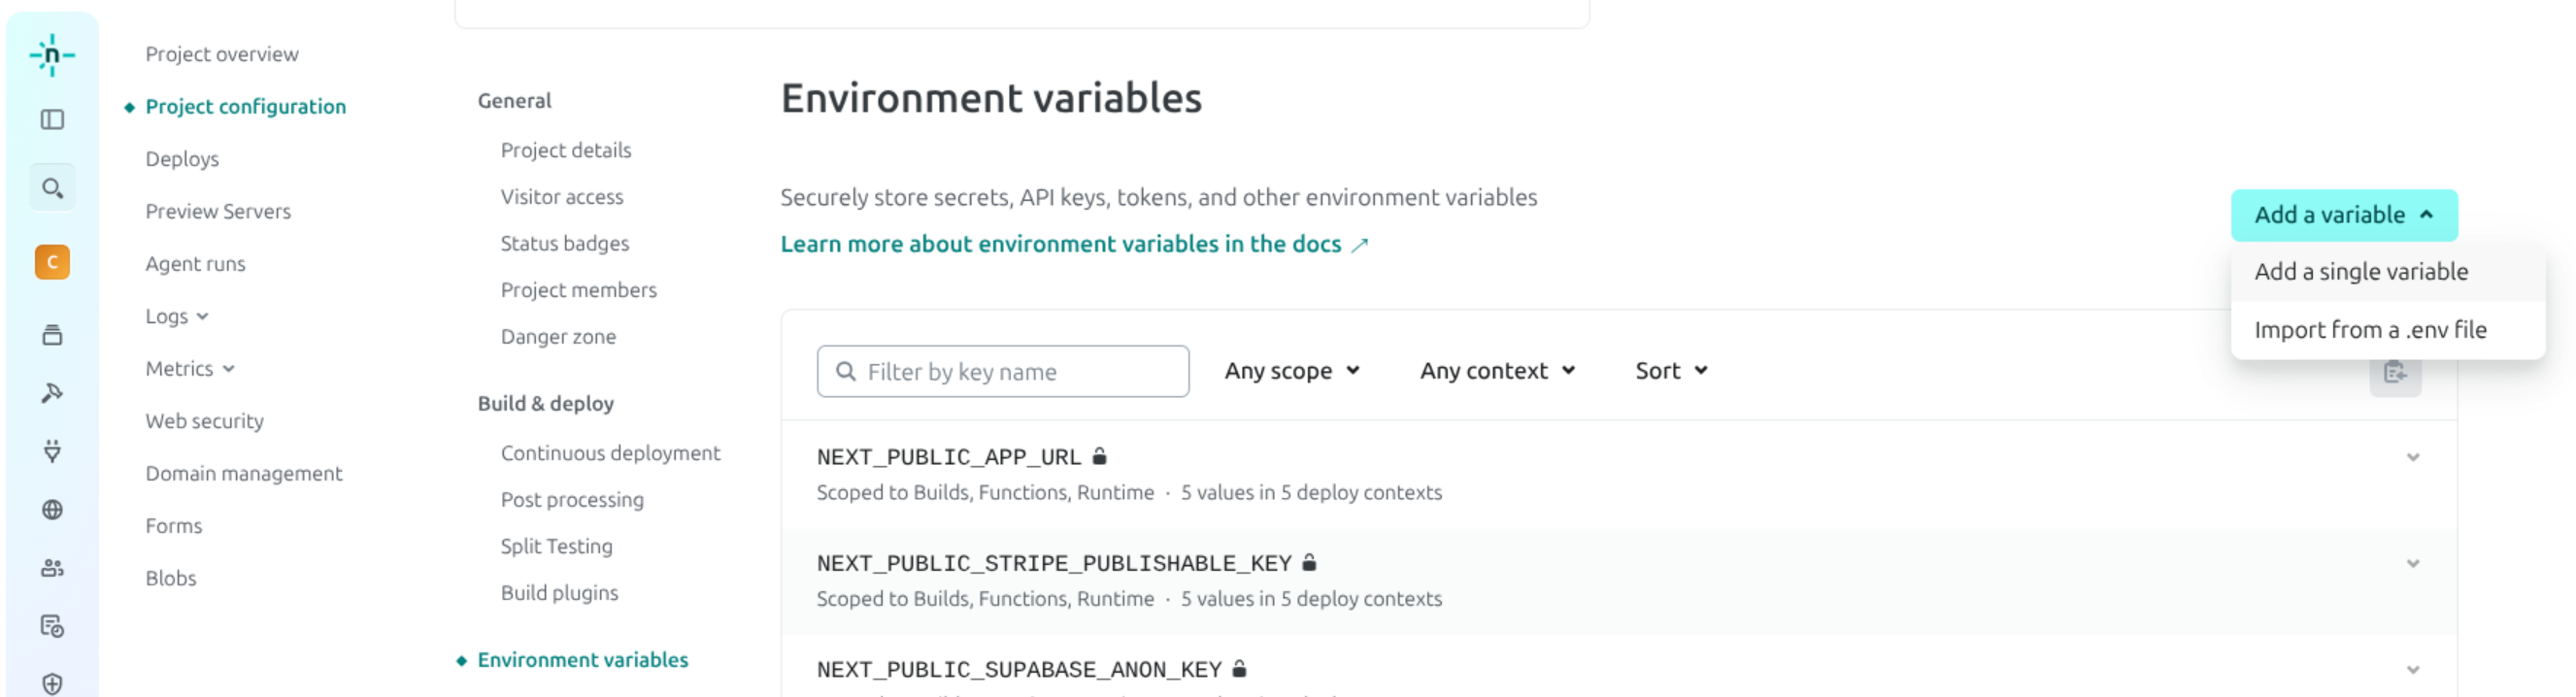
3. Migrate Environment Variables
For environment variables that differ between environments (like Stripe keys), you can set different values for production and preview environments:
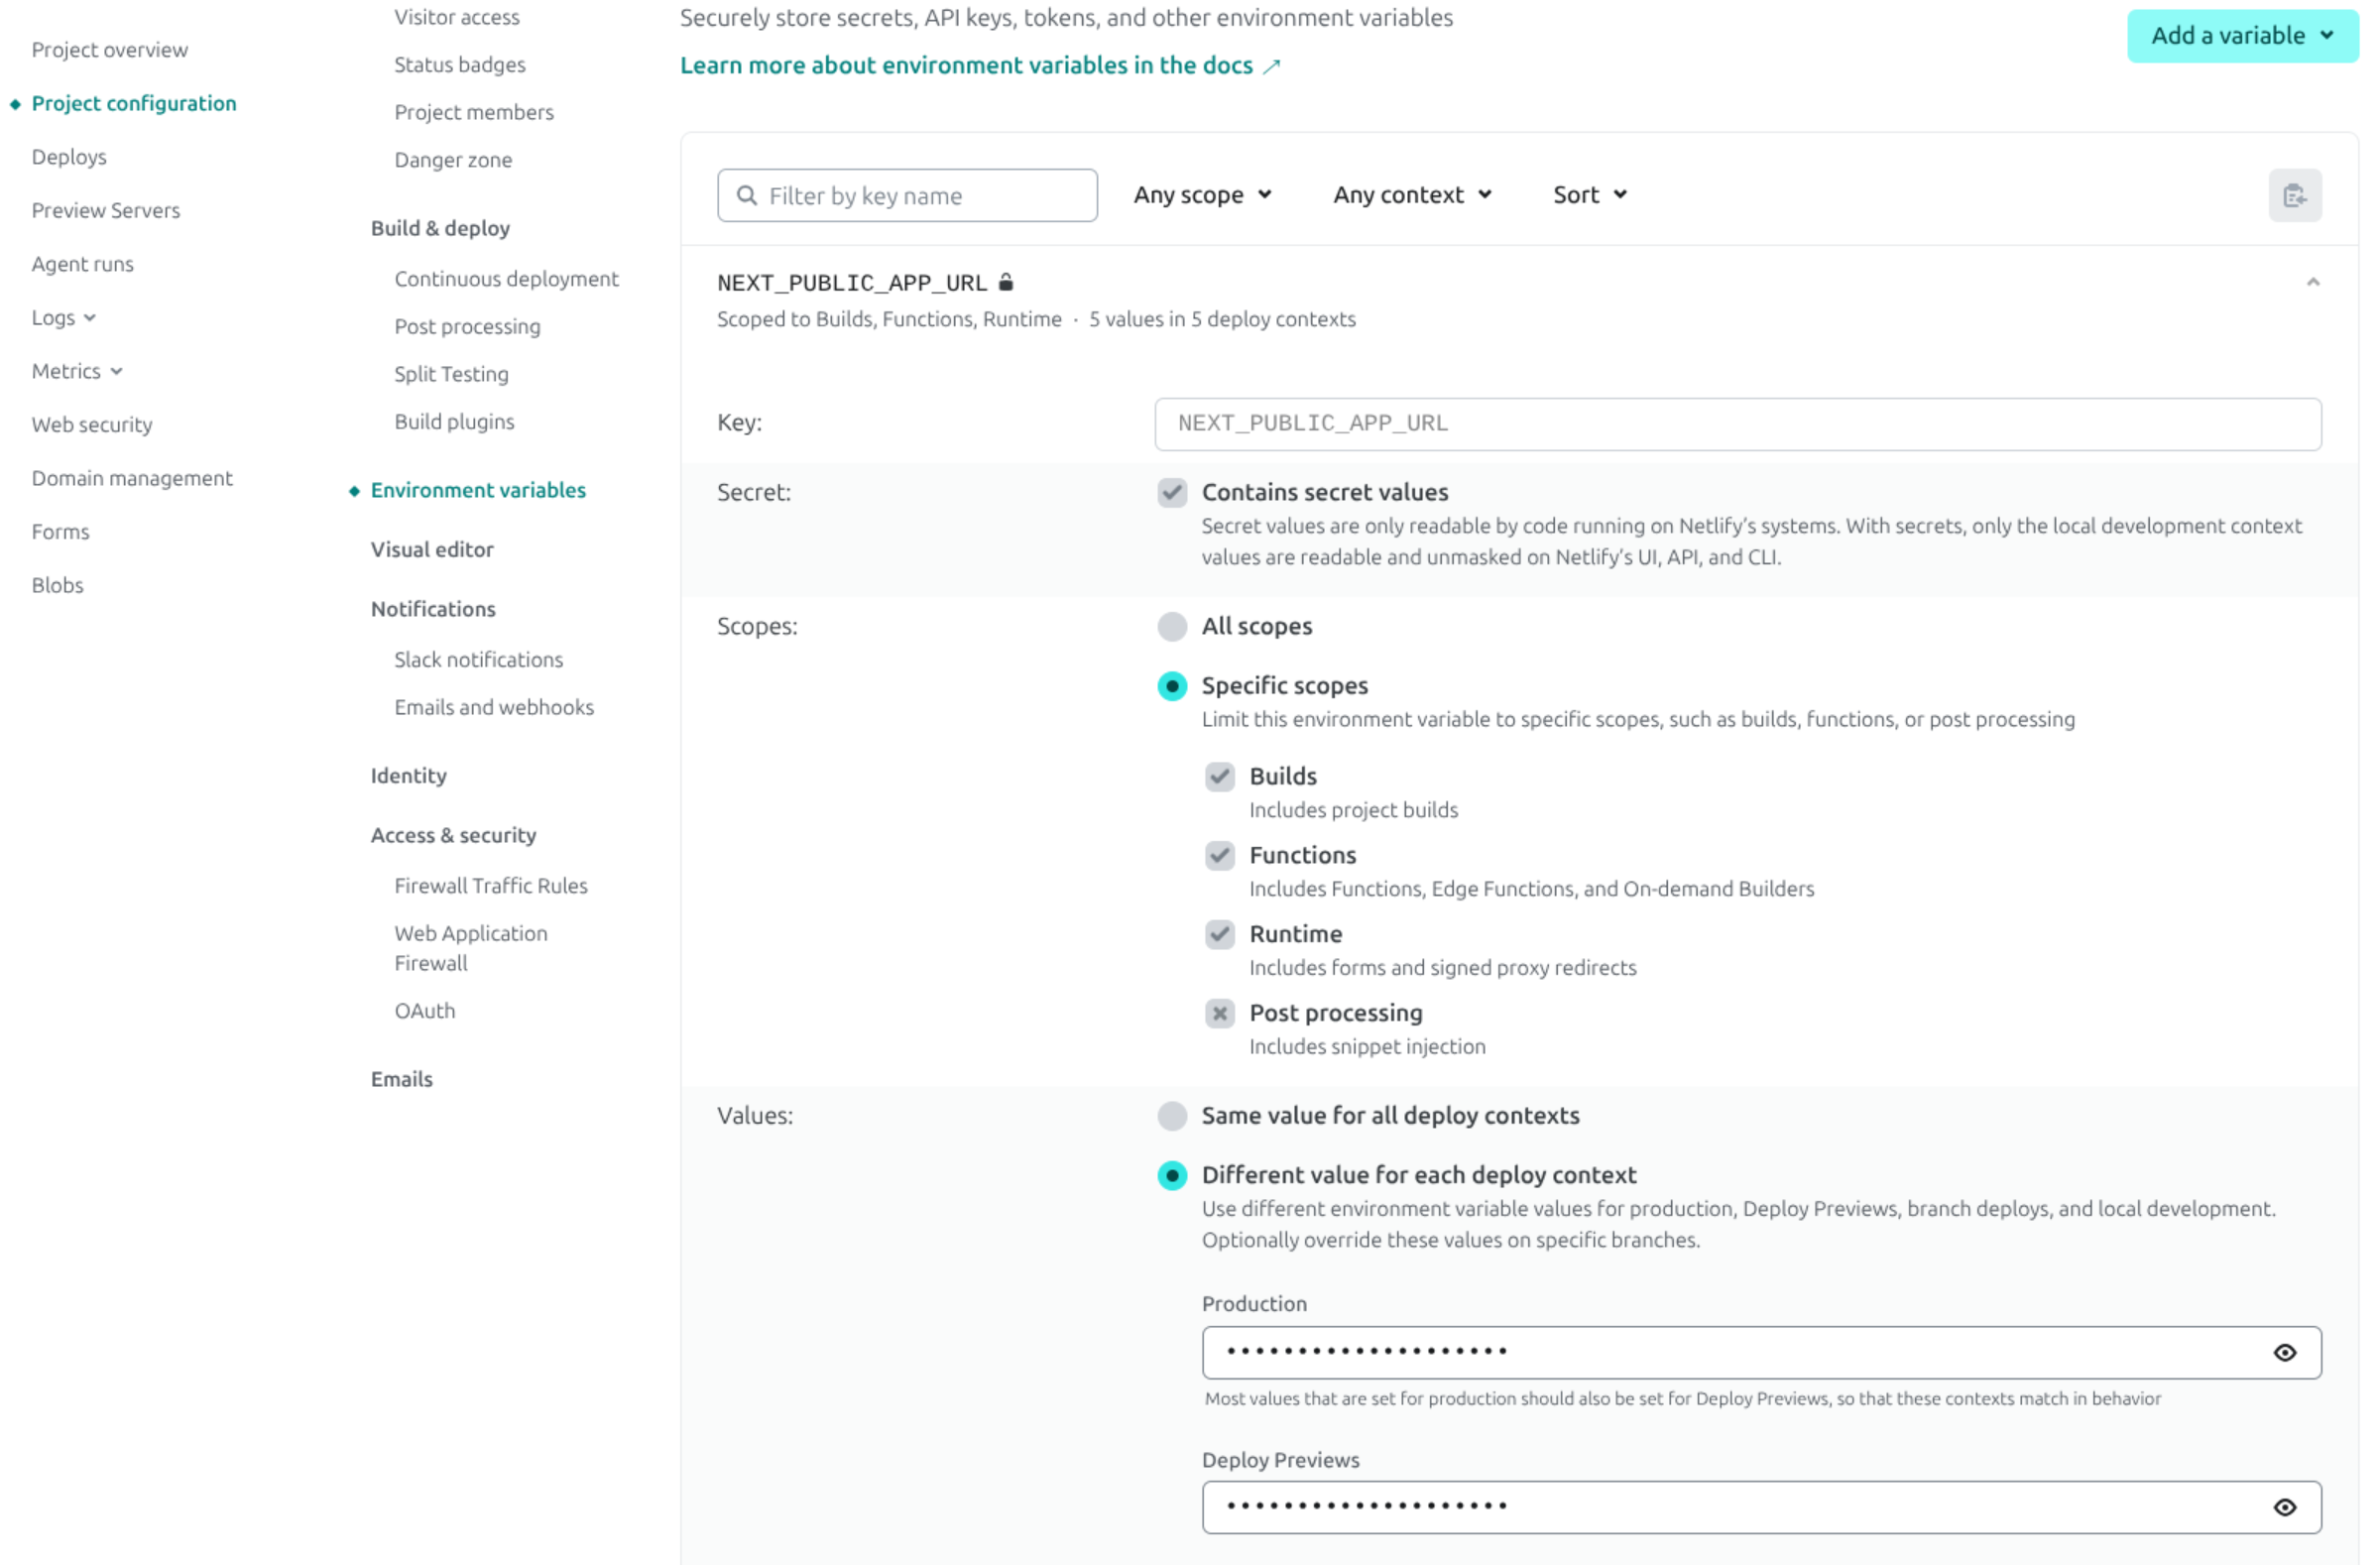
- Copy all environment variables from Vercel Dashboard
-
In Netlify: Go to Project configuration > Environment variables and add them
- Use scoped variables for different environments (production vs. preview)
4. Migrate Build, Redirects, Rewrites, Headers
You can also configure these settings through the Netlify UI:
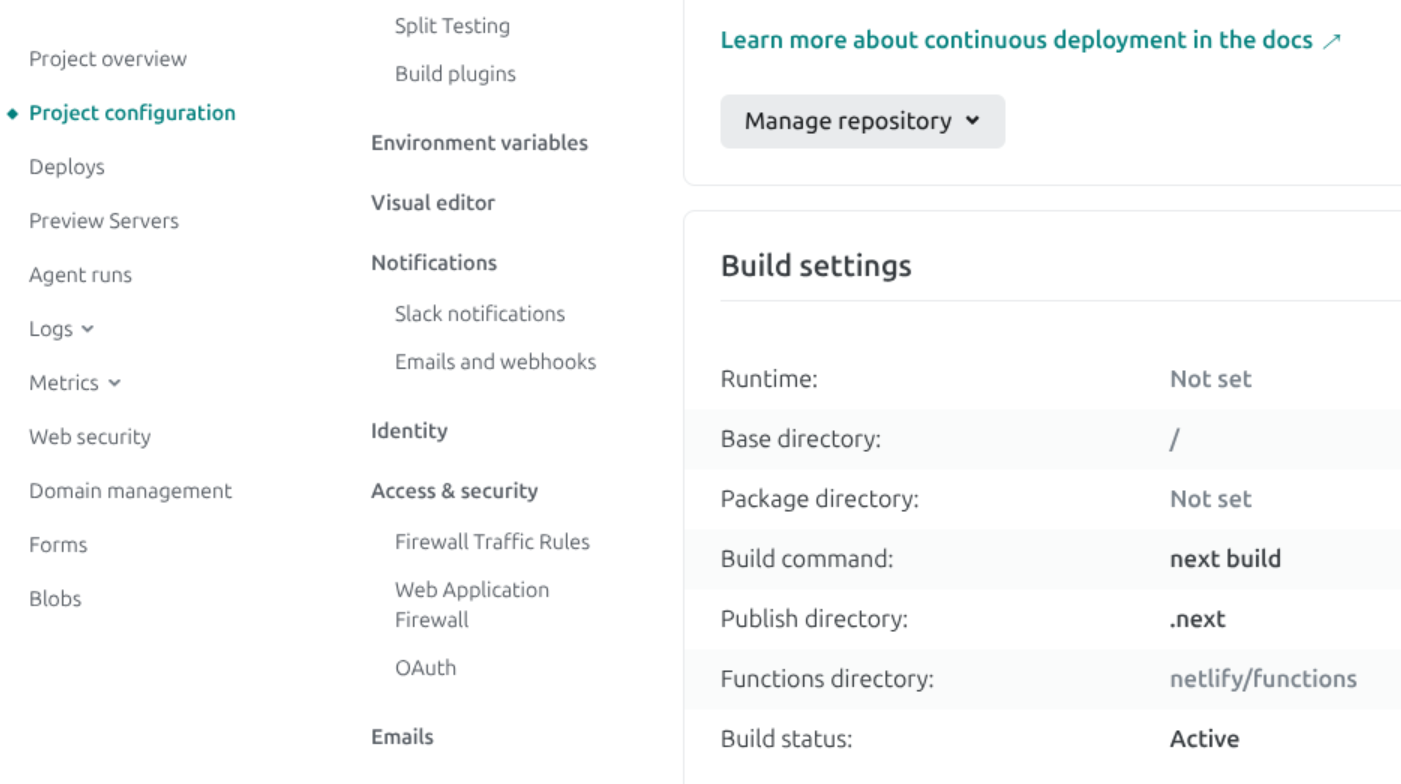
Create a netlify.toml file in your project root:
[build]
  command = "next build"

[[plugins]]
  package = "@netlify/plugin-nextjs"
5. Migrate Serverless/Edge Functions
Next.js API routes should work automatically with no changes needed.
6. Add Domain
- In Netlify: Projects > Domain Management, add your production domain
- Copy across all DNS records from Vercel
- Verify TLS certificate setup
7. Test Thoroughly
Netlify's Preview Deployments let you test changes before they go live:
Use Netlify's Deploy Previews for branches/PRs to test before going live.
8. Go Live and Clean Up
-
Whilst changing nameservers, you can test DNS propagation using:
dig NS <your domain> +shortor https://www.whatsmydns.net/ - Update nameservers to point to Netlify
- Test thoroughly after DNS propagation
- You can check the status of your site’s certificates in Domain management > HTTPS
- Update TTL settings if needed (to old values)
- Once verified, you can pause or delete the Vercel project
- Note, if you want to restrict TLS certificates to LetsEncrypt then you'll need to create a CAA record (https://docs.netlify.com/manage/domains/secure-domains-with-https/https-ssl/)
- Static pages: Served directly from Netlify CDN
- Dynamic SSR pages: Converted to Netlify Functions
- API routes: Become Netlify Functions
- Image Optimization: Powered by Netlify Image CDN
- ISR: Handled via On-demand Builders
- Middleware: Runs as Netlify Edge Functions
Netlify Next.js Plugin Details
The @netlify/plugin-nextjs handles most of the heavy lifting:
For the most up-to-date information, refer to Netlify's official migration guide.